Ripple
-
Objective
Capitalize on the 3D capabilities of the CNC and employ lateral thinking in the design process. There are no limits to what you are allowed to make.
-
Outcome
A flower vase for my mother that allows for flexibility in floral arrangements. The ripple surface is an organic shape that would have been hard to manufacture with other processes.

The Process
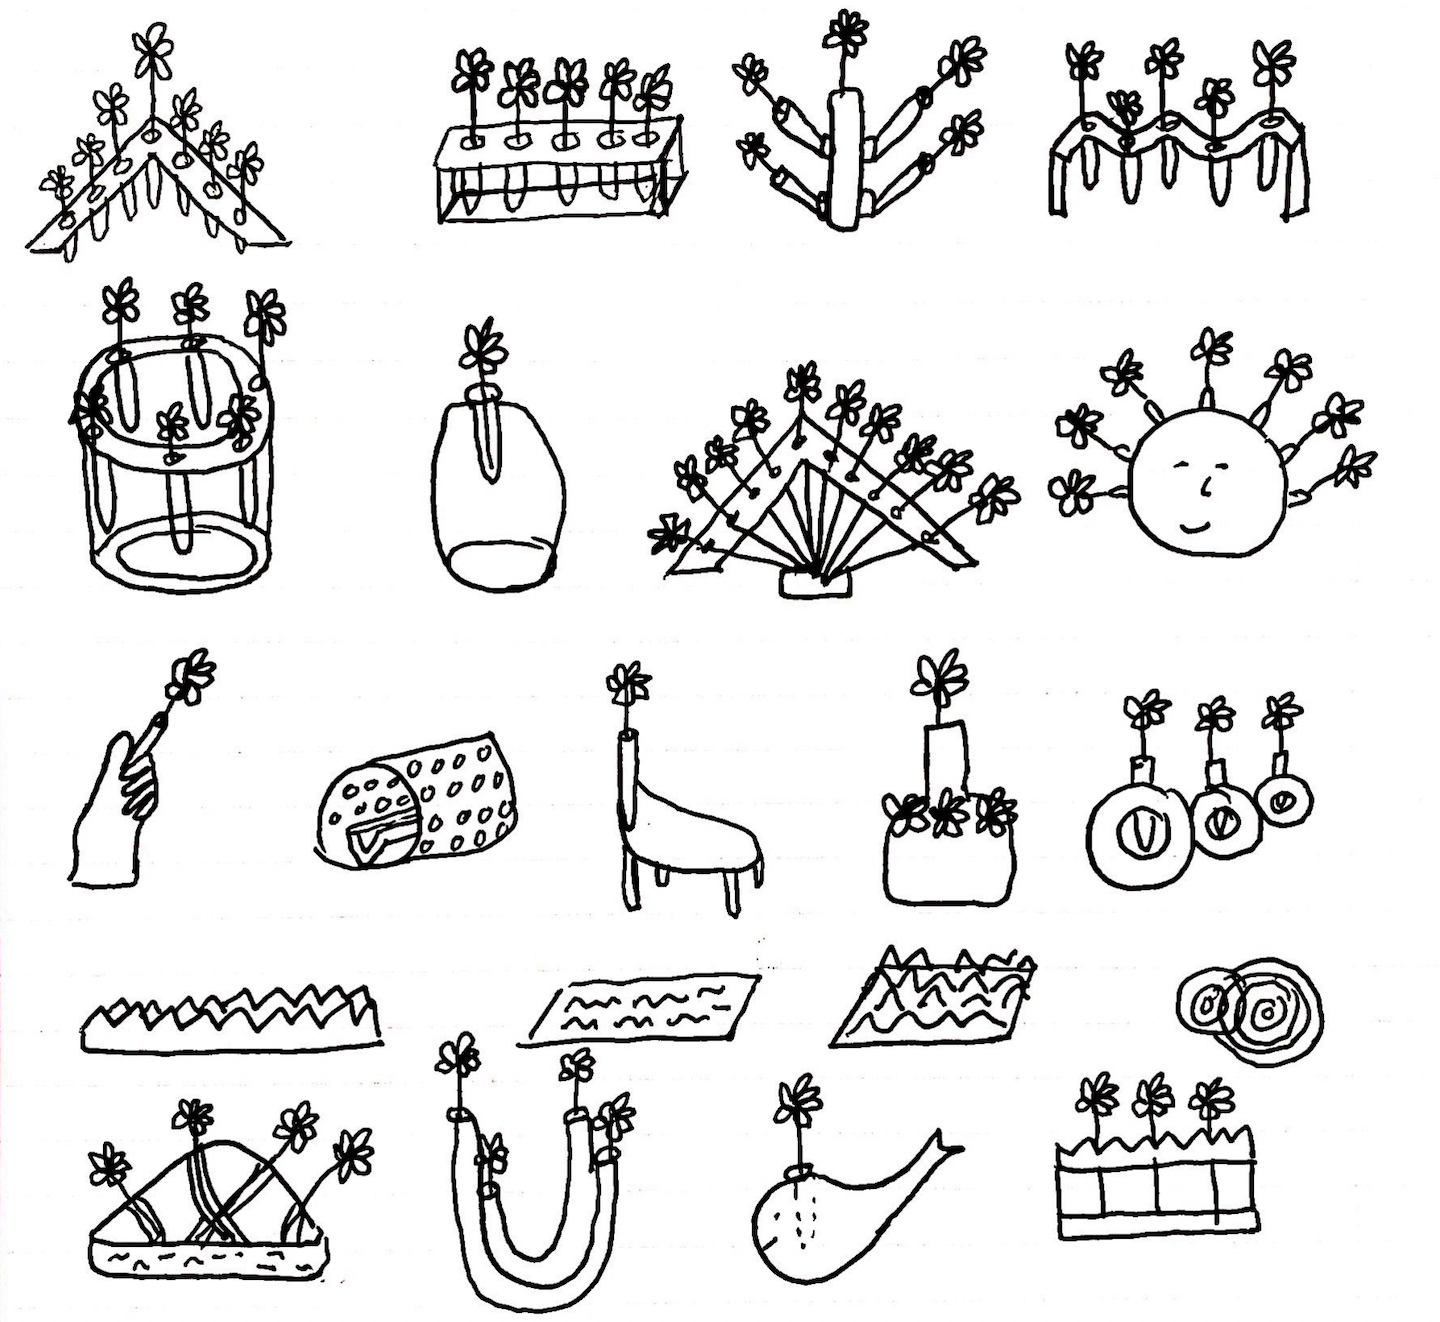
Step 1: Ideate
I basically filled a whole notebook with sketches of possible final projects ranging from camping rocking chairs to deodorant applicators to finally landing on flower vases. I spent two weeks focused solely on generating ideas, by far the longest amount of time I have ever spent focusing on this brainstorming phase.

Step 2: CAD
Creating a water surface from scratch took a lot of trial and error. Finally, what seemed to do the trick was what seemed like a million splines, planes, and lofts to make a surface that I could use to cut the stock.
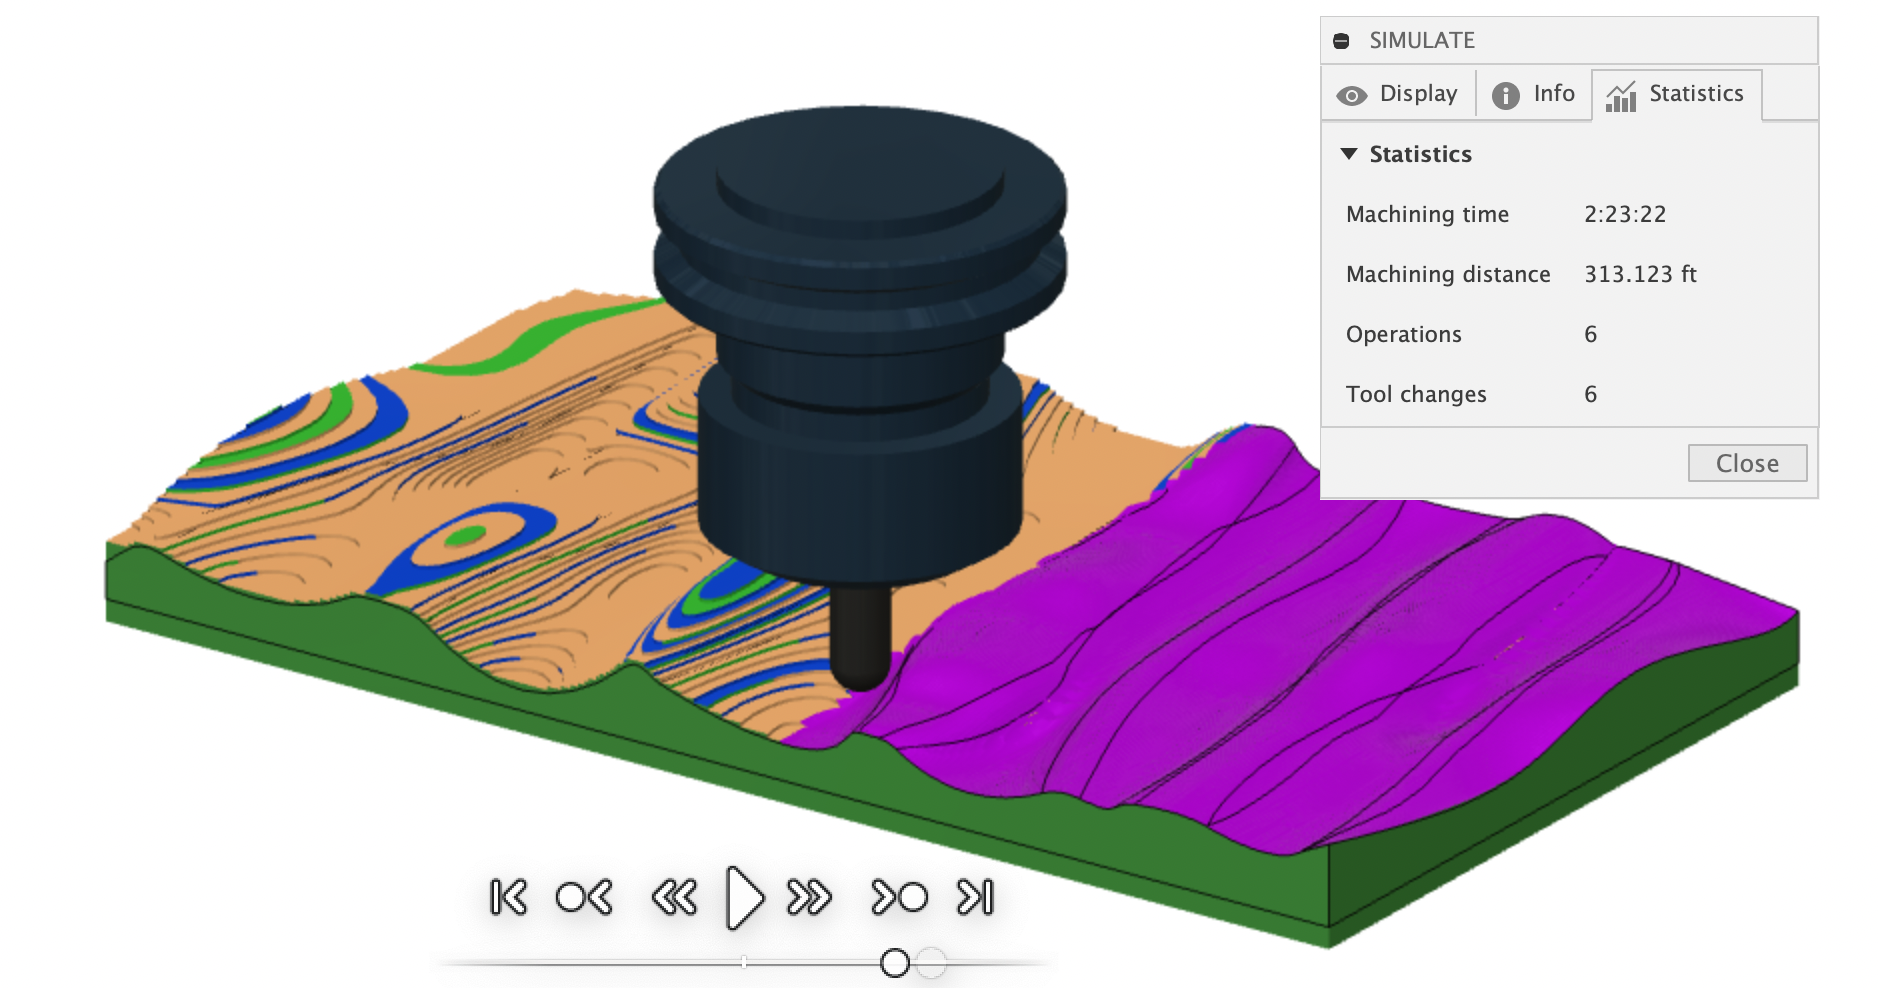
Step 3: CAM
This was my first CNC project that required machining more than one face. Therefore, workholding and work coordinate systems were important considerations. In order to simplify workholding by continuing to use a vise and avoiding using wax, I made sure that the bottom surface remained flat and that this was operation was done first. A finishing pass was also very important to my design to save me from hand sanding. With the shallow geometry of the water surface, I was able to use a 1/4” ball end mill which allowed for a very nice surface finish!
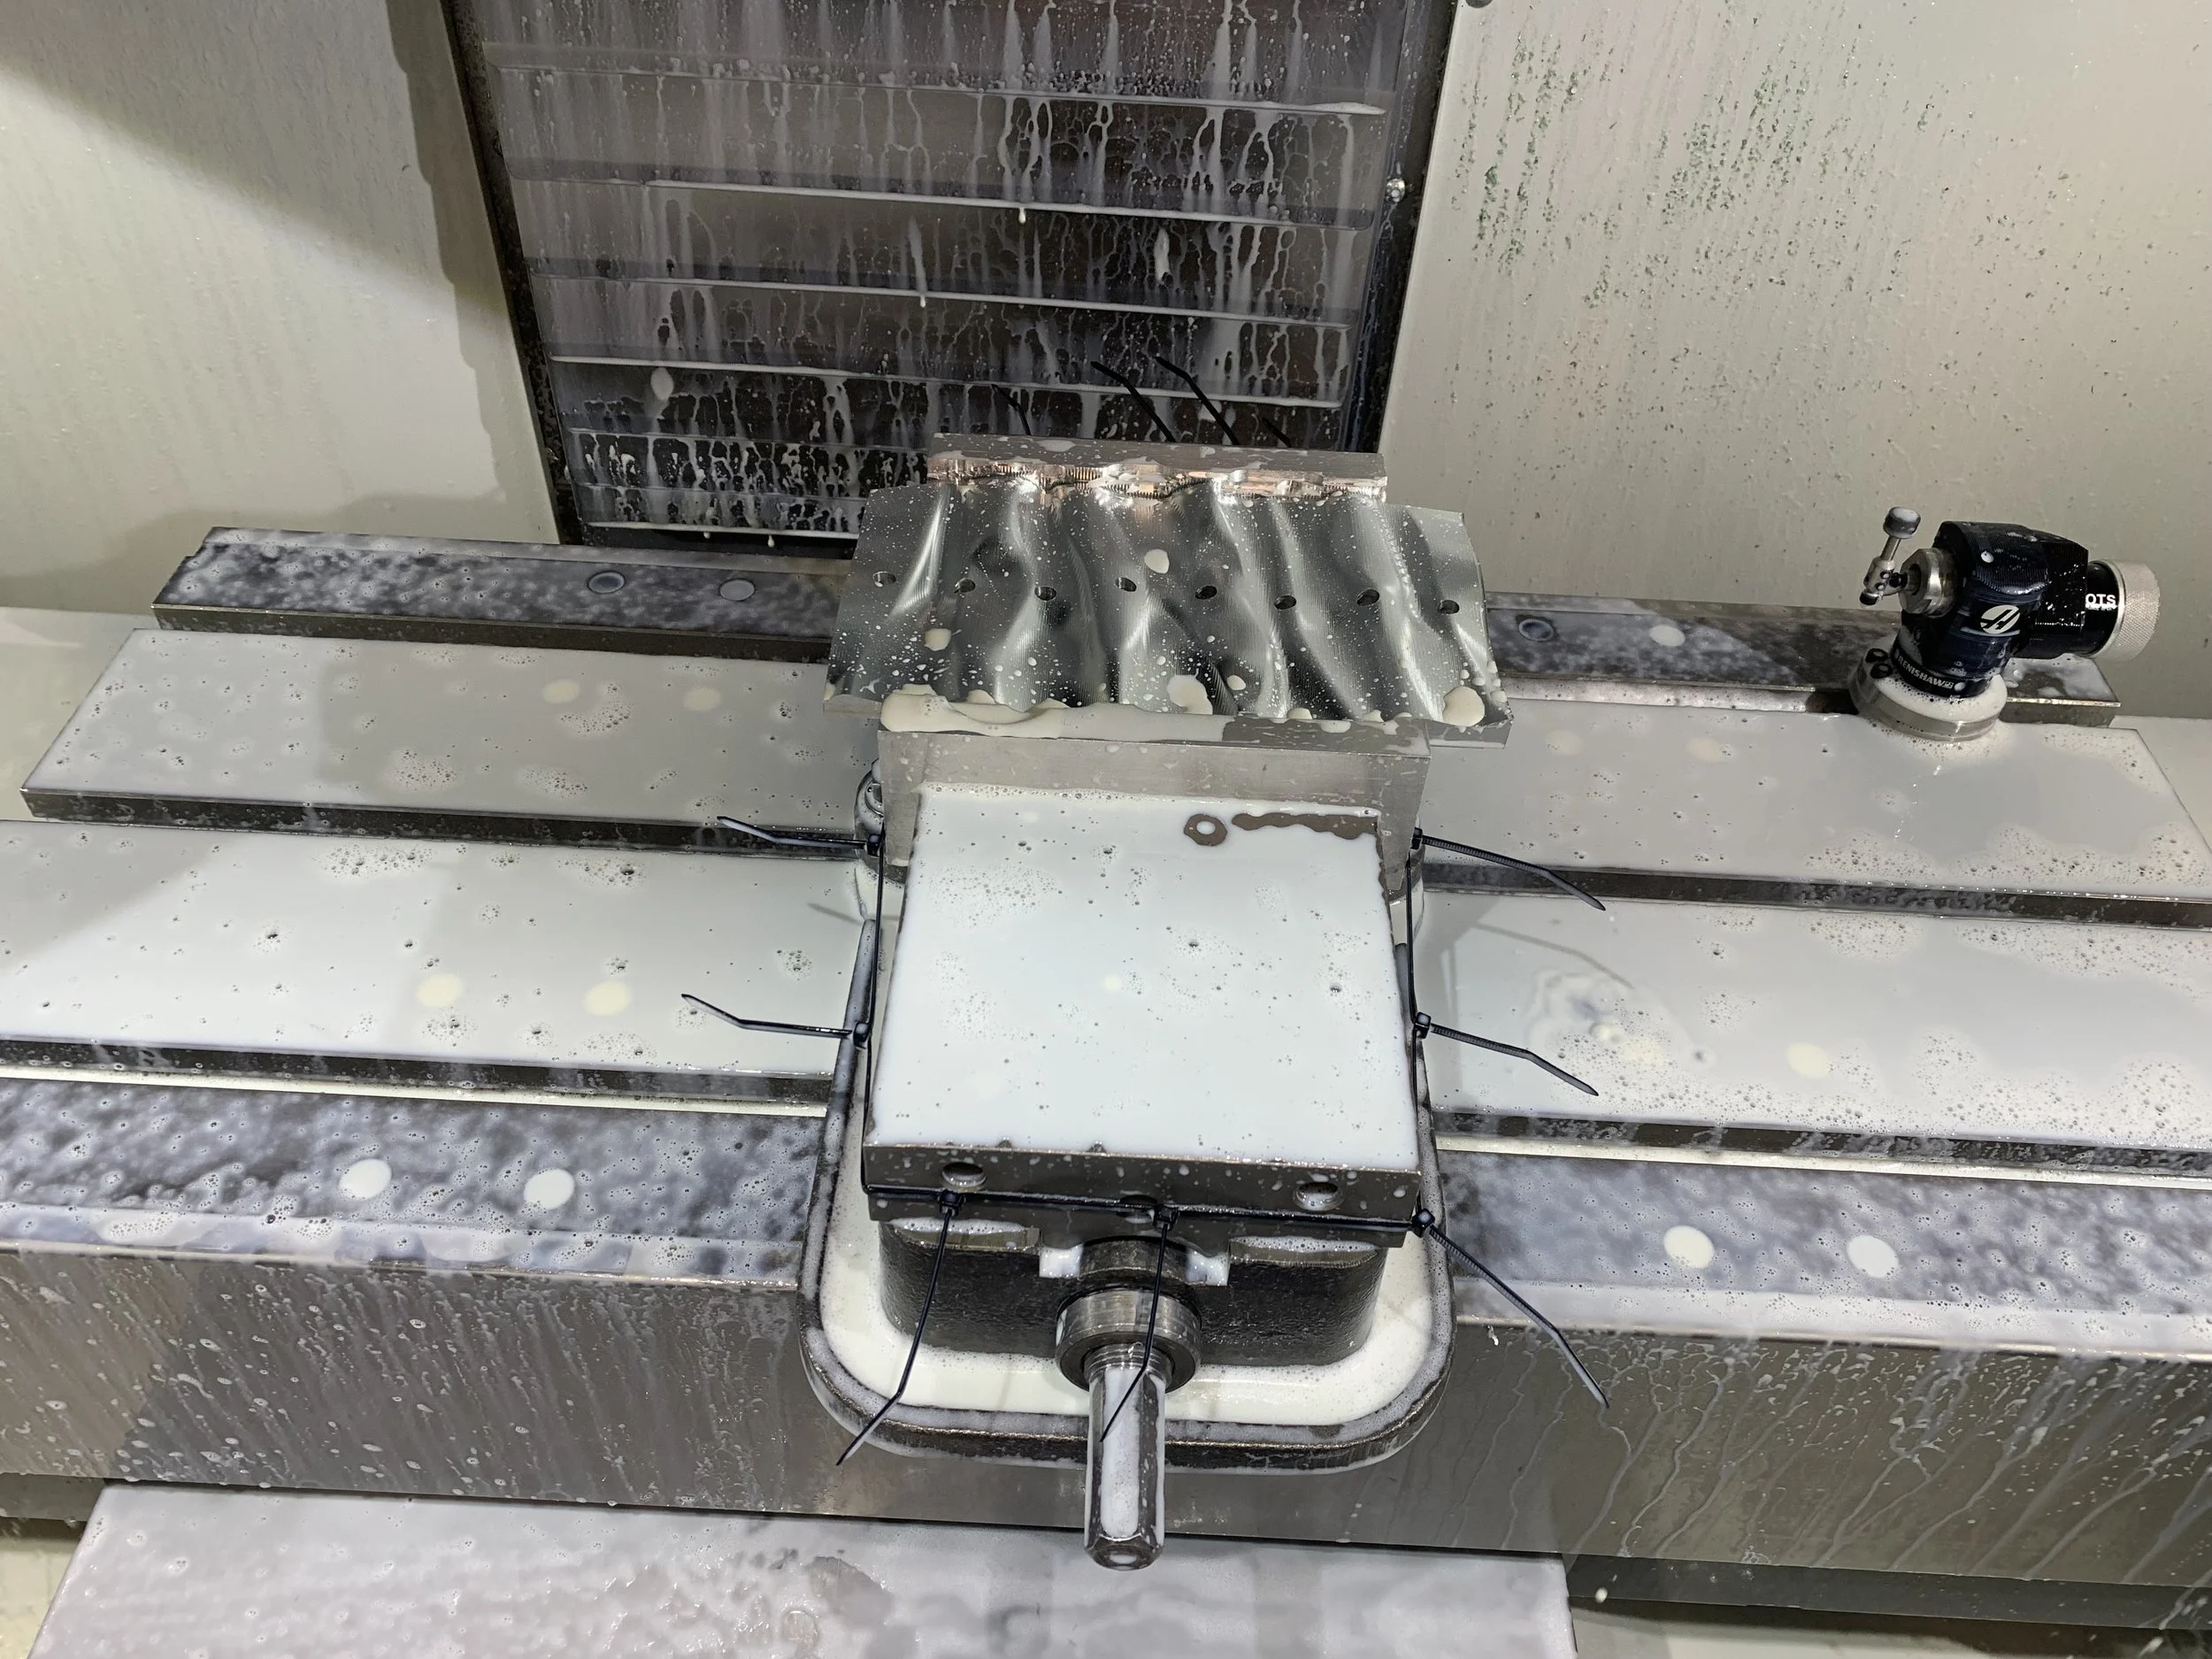
Step 4: CNC Machining
Given my limited experience with the CNC before this point, I encountered quite a few setbacks. First, I overlooked how thin my part was in one area causing the tool to collide with the vise. To recover from this, I used soft jaws that could be machined along with the workpiece and relied on CAM to determine how much material had been removed to offset the work coordinate system appropriately. Unfortunately, the soft jaws were too big for the parallel holders, so I opted to go without them, hoping the load from the tool would be largely parallel to the surface. This was not entirely the case and one corner of the workpiece was lowered, preventing the finishing pass from reaching it. To fix this, I ended up fastening my own set of parallel holders with a chain of zip ties (see picture on right) and running the finishing pass again. I am happy to report that the third time was in fact the charm!

Final Product
I ended up with a very organic shape that would have been hard to manufacture with other processes, successfully utilizing the CNC to its full capabilities. I was very happy with how it came out, especially with regard to the finishing pass. Extra bonus is my mom was very thrilled with her gift :) (although to be fair she would be ecstatic with anything I made for her)
Skills Learned
-
Learning to push the limits in the ideation process was one of my biggest takeaways of this project. I came up with over 200 idea variations and these ideas did not follow a linear path. While incredibly frustrating at times to dive this deeply, I recognized the value of lateral thinking to maximize creativity as I landed on a final concept that I would have never reached otherwise.
-
I had familiarity with CAD going into this process, but creating a realistic model of a water surface from scratch was a whole other beast. It was a unique challenge for me to create something so organic when I was used to creating things mostly mechanical in nature. Additionally, this was my second experience with CAM so I gained more experience with tool selection and how to pick the appropriate feeds and speeds.
-
In this project, I encountered more roadblocks than any other project. Every time I made a mistake I thought that it was over and that too much damage had been done to my part. However, with feedback and help from others, I learned that you can creatively navigate and come up with solutions to almost any problem you encounter!
-
Only my second time machining on the CNC, I became a lot more familiar with setting up and operating the machine, loading tools, and workholding! Plus, all the failures I encountered required me to get even that much more familiar with the CNC since I had to repeat the process so many times!